NEXGEN STEM ACADEMY
Building the Next Generation of Leaders Inspired by Curiosity, Creativity, and Innovation.

Plants in the NexGen Garden and How to Harvest them…This page is student generated, and includes information on the plants we currently have in the garden including, the location in the garden of the plants, general information on the plants, when to harvest, and how to harvest. It also includes pictures of the plants we have and sample recipes that can utilize the ingredients from the available plants.
|

|

Big Beef Tomato
|

Sweet Tomato
|

Sweet Tomato
|

Pink Brandywine Tomato
|

Black Beauty Zucchini
|

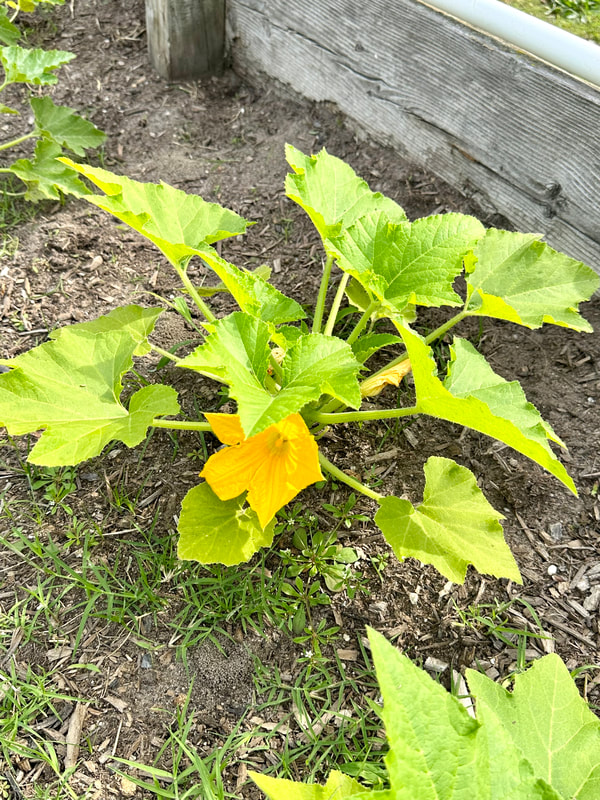
Pumpkin
|
Summer Squash
|

Potatos
|

Onions
|

Bush Beans
|

Edamame
|

Cucumber
|

Hot Banana Pepper

Eggplant
|

Cal-Wonder Pepper
|

Pepper Scorpion
|

Habanero
|

Carolina Reaper
|
|
Contact Us
|